WeChat could connect me to nearly all my friends and relatives in China. But now, I have to install several IMs to ensure that I can connect to all of my new friends because of the different countries they are staying in, their different kinds of concerns, and their different habits of using instant messaging services (IM). Besides WeChat, I have WhatsApp, Telegram, Signal, Line, Google Chat, and Linkedin on my phone. Although Telegram is my favorite, I have to switch between these IMs, and this really gives me a headache.
There are definitely several all-in-one IMs, but they are not ideal enough because they are all implemented in the ways below.
- Integrated all the browser versions of the IMs with HTML frame tags. It is alright on a Laptop, but facing these terrible UIs, that only suit big screens, on phones is a nightmare.
- Unpacked all the traffics of the browser versions of the IMs and packed them again into prettier and higher-integrated UI. Frankly speaking, I was worried about the potential data security issues, which would destroy the privacy protection guaranteed by these IMs’ end-to-end encryption (E2EE).
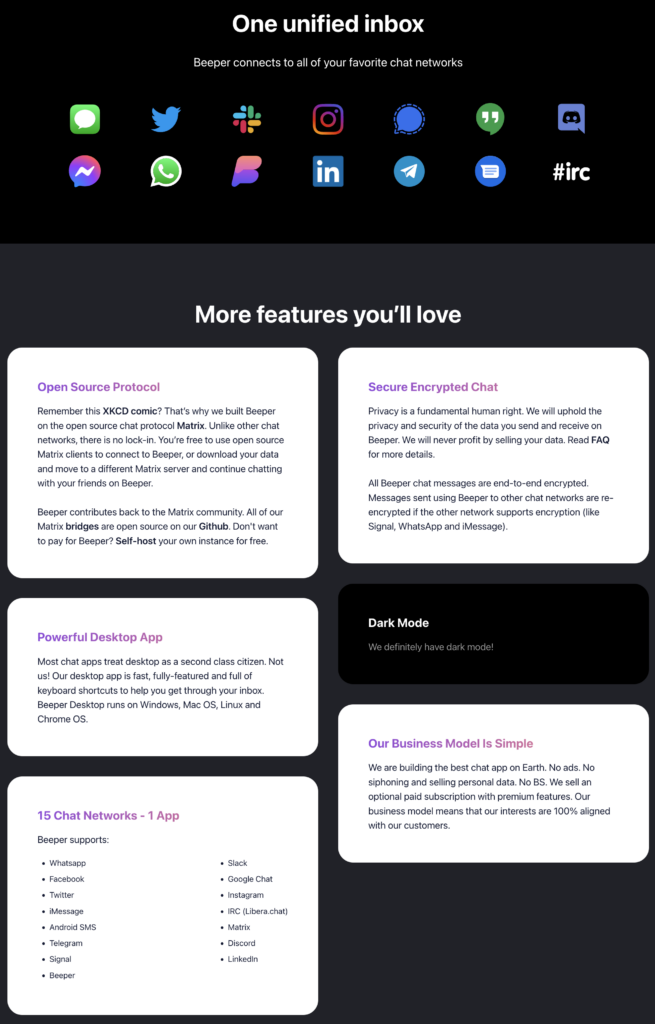
However, I heard about a service called Beeper that really gave me some hope.
According to the official introduction, this service really meets all my imagination about an all-in-one IM. So I signed it up, but was defeated by the reality.
After several months, more than 100000 guys are still waiting before me, which is really hopeless. Then I noticed that Beeper is built based on Matrix, so why don’t I deploy this by myself?
After going through a little, I was totally impressed by Matrix:
- Supports bridging. Matrix can exchange data and messages with other IMs such as WhatsApp, Telegram, Signal, etc.
- Supports E2EE. The E2EE algorithm is open-source and verified by many application scenarios, such as Signal.
- Open-source. Matrix is open-source and supports self-host. Not only Matrix itself but all the bridging services are also open-source. Although E2EE is relatively enough, if self-host is possible, zero-access encryption can be totally ensured, and man-in-the-middle attacks can be relatively blocked.
Let’s roll!
Deploy Matrix Service
There are at least 6 open-source implementations of Matrix, and I finally prefer using Synapse because this is the only server of Matrix implemented by the Matrix core team.
Welcome to the documentation repository for Synapse, a Matrix homeserver implementation developed by the matrix.org core team.
Introduction to Synapse @ https://github.com/matrix-org/synapse
I decided to deploy with Docker, as mentioned in the official documentation, to make it easy to maintain. I can say that the official documentation is pretty good, but we still need to face several issues before successfully deploying it.
Before deploying, we need to confirm the domain name of Matrix first. Let’s assume it is homeserver.mymatrixhost.com. Now we can start deploying, and I don’t think I need to introduce how to install Docker here.
Configuration of Matrix
Firstly, a configuration file needs to be generated with the following command:
docker run -it --rm \
    --mount type=volume,src=synapse-data,dst=/data \
    -e SYNAPSE_SERVER_NAME=homeserver.mymatrixhost.com \
    -e SYNAPSE_REPORT_STATS=no \
    matrixdotorg/synapse:latest generateCode language: Bash (bash)
SYNAPSE_SERVER_NAME (Mandatory): the domain name the service uses. It should be homeserver.mymatrixhost.com, as we assumed.SYNAPSE_REPORT_STATS (Mandatory): Whether to report anonymous statics. I choose no. - /data: the default folder of Synapse’s configuration. As per the command above, it is
/data.
Suppose we set synapse-data as the folder of the data source and the Docker is running under the default configuration. In that case, we will see a file named homeserver.yaml in the folder of /var/lib/docker/volumes/synapse-data/_data after executing this command. This is the configuration file of the Matrix service as below.
server_name: "homeserver.mymatrixhost.com"
pid_file: /data/homeserver.pid
listeners:
- port: 8008
tls: false
type: http
x_forwarded: true
resources:
- names: [client, federation]
compress: false
database:
name: sqlite3
args:
database: /data/homeserver.db
log_config: "/data/homeserver.mymatrixhost.com.log.config"
media_store_path: /data/media_store
registration_shared_secret: "bzxSPVVwhHMiSs6b6YRBKreN-i^W^2tCUmS^4r~Hr:_ew,Alkb"
report_stats: false
macaroon_secret_key: "J1kYVZ~+fixo*RI@K5,~W-LoL#lMr0ZVJg.nFN,=MT_bYpk@JJ"
form_secret: "2zXL_q~hI1nF^m#yBumaIvY9dFU~j9uiFO0bGR5Rgc-U5gf6@2"
signing_key_path: "/data/homeserver.mymatrixhost.com.signing.key"
trusted_key_servers:
- server_name: "matrix.org"
Code language: YAML (yaml)
Most of the items can be set as default. But I will still explain several important items.
Listener
listeners:
  - port: 8008
    tls: false
    type: httpCode language: YAML (yaml)
if HTTPS needs to be enabled, tls should be set to true. But I don’t recommend it because:
- It is relatively troublesome to configure certificates directly for applications in containers.
- It is easier to test our service if it serves with HTTP.
- There are a few solutions that provide service externally with HTTPS and also retain HTTP. For example, with the help of a reverse proxy, as mentioned in the official documentation. This is also the solution I prefer. Regarding to the possible security issue caused by HTTP, we can block all the inbound traffic to Port 8008 with a firewall and test the HTTP service locally through Port 8008.
Database
database:
  name: sqlite3
  args:
    database: /data/homeserver.dbCode language: YAML (yaml)
Synapse supports PostgreSQL and SQLite, and I prefer SQLite for easier deployment because this Matrix service is only for self-use. And because we set the default /data as the configuration folder, the path of the configuration file is /data/homeserver.db.
Next,
Run Matrix
Besides the Synapse, we also need to run the bridging components, which will run in separated containers. So it is essential to set up the network bridge before we run the Matrix so that the services can find each other at the domain name that is the same as its container name.
docker network create synapse-netCode language: Bash (bash)
It is time to run Matrix now.
docker run -d --name synapse \
    --mount type=volume,src=synapse-data,dst=/data \
    -p 8008:8008 \
    --net synapse-net \
    matrixdotorg/synapse:latestCode language: Bash (bash)
As above, we name the Matrix’s container with –name synapse, so that we can operate this container by claiming the name instead of the container ID. We also link the container to the network bridge synapse-net with –net synapse-net so that the services in other containers can contact this at the domain name that is synapse.
docker logs --tail 100 synapseCode language: Bash (bash)
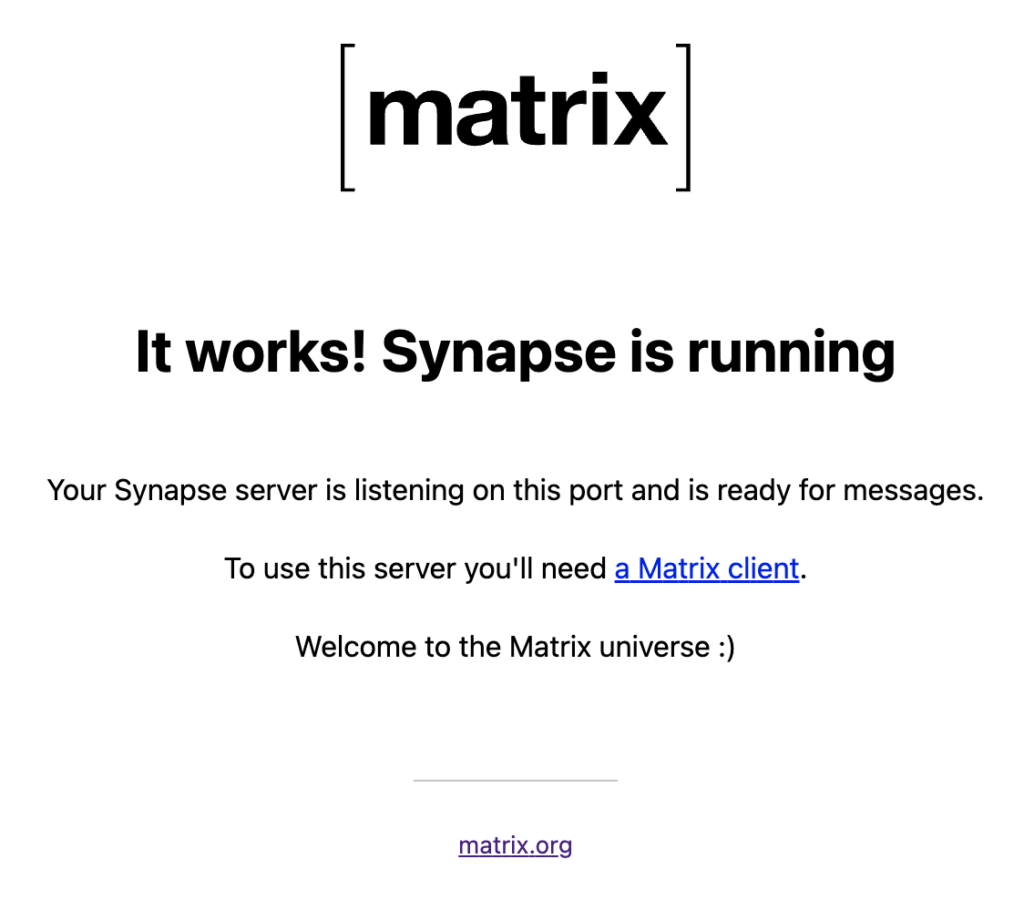
With the command above, we can go through the latest 100 lines of logs to check the status of the service. Because it is for self-use, we have not made any complicated changes to the configuration; it is pretty easy to make Matrix run. Before blocking all the inbound traffic to Port 8008 with a firewall, we can access http://{IP_of_Host_You_Deploy_the_Service}/_matrix/static/ to check Matrix. If good, it will show as below.
We can also use this command docker network inspect synpase-net to check the network status of the containers linking to the network bridge synapse-net.
Enable HTTPS: Reverse Proxy
I am unfamiliar with Apache2, but I simplified the deployment using DigitalOcean‘s 1-Click LAMP Droplet. In this case, I used Apache2 to set up the reverse proxy. And now, I am using Apache2 to introduce the reverse proxy setup.
Firstly, we must add the configuration below to /etc/apache2/sites-available/000-default-le-ssl.conf.
<VirtualHost *:443>
    ServerName homeserver.mymatrixhost.com

    RequestHeader set "X-Forwarded-Proto" expr=%{REQUEST_SCHEME}
    AllowEncodedSlashes NoDecode

    ProxyPreserveHost on
    ProxyPass /_matrix http://127.0.0.1:8008/_matrix nocanon
    ProxyPassReverse /_matrix http://127.0.0.1:8008/_matrix
    ProxyPass /_synapse/client http://127.0.0.1:8008/_synapse/client nocanon
    ProxyPassReverse /_synapse/client http://127.0.0.1:8008/_synapse/client

    ErrorLog ${APACHE_LOG_DIR}/error-matrix-server.log
    CustomLog ${APACHE_LOG_DIR}/access-matrix-server.log combined

    Include /etc/letsencrypt/options-ssl-apache.conf
    SSLCertificateFile /etc/letsencrypt/live/homeserver.mymatrixhost.com/fullchain.pem
    SSLCertificateKeyFile /etc/letsencrypt/live/homeserver.mymatrixhost.com/privkey.pem
</VirtualHost>Code language: Apache (apache)
Before making the configuration above take effect, we must enable all the necessary Apache modules with the command below.
a2enmod headers
a2enmod proxy
a2enmod proxy_httpCode language: Bash (bash)
Actually, I really met a weird issue when setting up the reverse proxy. If I restarted the Apache2 service without enabling the headers or proxy modules, Apache2 failed to start and threw an error telling me I should enable the specific module. But Apache2 succeeded in starting without enabling the proxy_http module. However, when accessing the service through the port of the reverse proxy, the error below would be thrown.
AH01144: No protocol handler was valid for the URL /_matrix/static (scheme 'http'). If you are using a DSO version of mod_proxy, make sure the proxy submodules are included in the configuration using LoadModule.Code language: JavaScript (javascript)
The mod_proxy mentioned in the error message really confused me until I found a comment of an answer with many thumb-ups on StackOverflow. It made me know that I also needed to enable the proxy_http module besides the proxy modules.
I am not familiar with Apache2. If anyone knows why the error message is so weird, Kindly explain, please.
Next, we must obtain an SSL certificate and bind a domain name. Please let me skip introducing this part here. Once done, we can access https://homeserver.mymatrixhost.com/_matrix/static/. If everything is good, we can get the page below again.
Now there is one last step to get Matrix ready for production: blocking the inbound traffic to Port 8008 for insecure HTTP access.
Verify with a Client
Since HTTPS is available, we can officially start to use the Matrix service now. Two more steps must be done before we use it: Administrator account and client.
Create an Administrator Account
With the command below, we can create an administrator account.
docker exec -it synapse register_new_matrix_user http://localhost:8008 -c /data/homeserver.yaml -aCode language: Bash (bash)
Please remember the -a parameter. If not, the account created will not be an administrator account.
Connect to Matrix with a Client
Matrix is open source, so we can find many Matrix clients on this page. After I tried Element and FluffyChat, I preferred FluffyChat.
Now we can try logging in. When logging in, do ensure to update the server from Matrix.org to homeserver.mymatrixhost.com, the Matrix service we deployed, and key in the username and password of the administrator account we created in the previous step.
Theoretically, our client will successfully help us log in the Matrix service.
Now we can start with the most exciting part. Let’s make Matrix an all-in-one E2EE IM.
Deploy the Bridges
Let’s start with WhatsApp and Telegram, the most popular IMs first. Similar to the deployment of Synapse, I also deployed the bridges with Docker, as the official documentation mentioned.
Deploy the Bridge to WhatsApp
WhatsApp Configuration
Firstly, we must execute mkdir mautrix-whatsapp && cd mautrix-whatsapp to create a folder to put the configuration files in. Then use docker run --rm -v `pwd`:/data:z dock.mau.dev/mautrix/whatsapp:latest to generate the configuration. After that, we will see config.yaml in the mautrix-whatsapp folder.
We can use default values for most items, so here I will only introduce several items that need altered values.
homeserver:
address: http://synapse:8008
domain: homeserver.mymatrixhost.com
software: standard
status_endpoint: null
message_send_checkpoint_endpoint: null
async_media: false
appservice:
address: http://mautrix-whatsapp:29318Code language: YAML (yaml)
Not sure whether you still remember that we created a network bridge called synapse–net that lets containers use the container name as the domain name to contact each other.
The address item of the homeserver above is to claim the Synapse service we deployed. All the containers are running on the same host, and the bridge to WhatsApp can access through Port 8008 to access the insecure service of HTTP, so we set the address to http://synapse:8008. Besides, the address of appservice should be set to http://mautrix-whatsapp:29318, and the domain should be set to homeserver.mymatrixhost.com.
database:
type: sqlite3-fk-wal
uri: file:///data/db.db?_txlock=immediateCode language: YAML (yaml)
Although this bridge also supports PostgreSQL, I still prefer SQLite for self-host and easy maintenance. If encountering the error regarding to failed DB initiation when starting this bridge, executing touch db.db to create an empty DB file can solve this.
encryption:
allow: true
default: trueCode language: YAML (yaml)
- allow (Mandatory): Set this to true so that all the sessions bridged by this service can be E2EE enabled.
- default (Mandatory): Set this to true so that all the sessions bridged by this service will be E2EE enabled by default.
permissions:
    "*": relay
    "homeserver.mymatrixhost.com": user
    "@matrixadmin:homeserver.mymatrixhost.com": adminCode language: YAML (yaml)
At last, we need to confirm the permission configuration, and matrixadmin is the administrator account we created.
Register the AppService
The configuration file is done, and we can start to generate the AppService registration file now. Let’s rerun the following command.
docker run --rm -v `pwd`:/data:z dock.mau.dev/mautrix/whatsapp:latestCode language: Bash (bash)
One new file named registration.yaml will be in the configuration folder, and we need to move this file to the Synapse configuration folder and rename it to a recognizable name.
cp registration.yaml /var/lib/docker/volumes/synapse-data/_data/mautrix-whatsapp-registration.yamlCode language: Bash (bash)
Next, let’s update the homeserver.yaml of Synapse to register the AppService, as below.
trusted_key_servers:
- server_name: "matrix.org"
app_service_config_files:
- /data/mautrix-telegram-registration.yaml
- /data/mautrix-whatsapp-registration.yaml
Code language: YAML (yaml)
We can see the other registered AppService related to Telegram and will explain this.
Start the Bridge to WhatsApp
Since we set http://mautrix-whatsapp:29318 as the address of appservice, name the container as mautrix-whatsapp, and link it to synapse-net, we start it with the following command.
docker run --restart unless-stopped --name mautrix-whatsapp --net synapse-net -v `pwd`:/data:z dock.mau.dev/mautrix/whatsapp:latestCode language: Bash (bash)
Use Matrix to Bridge the WhatsApp Sessions
After starting the bridge and restarting the Synapse, the bridge will work. To initial the bridge service, we need to add @whatsappbot:homeserver.mymatrixhost.com into the client’s contact list, such as FluffyChat, and send login to it. In this case, the whatsappbot will initiate the session to log in WhatsApp. The whole process is similar to logging in the browser version of WhatsApp. I think this bridge is a wrap of the browser version of WhatsApp.
Now, the bridge is starting to deliver the WhatsApp sessions to FluffyChat via Matrix. And we can check on the bridge to Telegram.
Deploy the Bridge to Telegram
Telegram Configuration
The deployment is similar to deploying the bridge to WhatsApp. Create the configuration folder and generate the configuration file.
mkdir mautrix-telegram && cd mautrix-telegram.
docker run --rm -v `pwd`:/data:z dock.mau.dev/mautrix/telegram:latestCode language: Bash (bash)
Also, we need to update the addresses of Matrix and the bridge to Telegram.
homeserver:
address: http://synapse:8008
domain: homeserver.mymatrixhost.com
verify_ssl: false
software: standard
http_retry_count: 4
status_endpoint:
message_send_checkpoint_endpoint:
async_media: false
appservice:
address: http://mautrix-telegram:29317Code language: YAML (yaml)
Choose SQLite as the database as well.
database: sqlite://db.dbCode language: YAML (yaml)
E2EE configuration.
encryption:
allow: true
default: trueCode language: YAML (yaml)
Permission configuration
    permissions:
        '*': relaybot
        mymatrixhost.com: full
        '@matrixadmin:homeserver.mymatrixhost.com': adminCode language: YAML (yaml)
Besides all the above, we also need to apply for the API Key of Telegram. I believe this bridge is a wrap of a series of Telegram APIs.
telegram:
api_id: 10000001
api_hash: 123abcdefghijklmnopqrstuvwxyz123
bot_token: disabledCode language: PHP (php)
Obviously, the Key above is fabricated as an example. We must access the Telegram App creation page to apply for the API Key. When applying, ensure that the URL should be the domain name of your Matrix service, homeserver.mymatrixhost.com we assumed.
Register the AppService
The same as registering the bridge to WhatsApp.
docker run --rm -v `pwd`:/data:z dock.mau.dev/mautrix/telegram:latest
cp registration.yaml /var/lib/docker/volumes/synapse-data/_data/mautrix-telegram-registration.yamlCode language: Bash (bash)
Update the Synapse configuration file as below.
trusted_key_servers:
- server_name: "matrix.org"
app_service_config_files:
- /data/mautrix-telegram-registration.yaml
- /data/mautrix-whatsapp-registration.yaml
Code language: YAML (yaml)
Start the Bridge to Telegram
Since we set http://mautrix-telegram:29317 as the address of appservice, name the container as mautrix-telegram, and link it to synapse-net, we start it with the following command.
docker run --restart unless-stopped --name mautrix-telegram --net synapse-net -v `pwd`:/data:z dock.mau.dev/mautrix/telegram:latestCode language: Bash (bash)
Use Matrix to bridge the Telegram Sessions
After starting the bridge and restarting the Synapse, the bridge will work. To initial the bridge service, we need to add @telegrambot:homeserver.mymatrixhost.com into the client’s contact list, such as FluffyChat, and send login to it. In this case, the telegrambot will initiate the session to log in Telegram. The whole process is similar to logging in Telegram.
Now, the bridge is starting to deliver the Telegram sessions to FluffyChat.
All-in-One E2EE IM Service
It took me nearly two days to adapt to FluffyChat and Matrix. Now I have turned off WhatsApp and Telegram notifications and used FlullyChat and self-host Matrix to handle my daily IM needs.
At last, do not forget to use the firewall to block the inbound traffic to Port 29317 and 29218 being listened to by the bridges.