在中国的时候,即时聊天工具(后面以 IM – Instant Messaging 代替)方面,基本上是微信走天下。安装一个微信几乎就能和所有朋友保持联系了。
到了新加坡,IM 真的是百花齐放,再加之不同人出于不同的原因,对于 IM 也有不同的偏爱,导致你需要安装多个 IM 才能和所有新朋友保持联系。简单数了一下,我现在手机上,除了微信,还安装了 WhatsApp、Telegram、Signal、Line、Google Chat、Linkedin 等等。虽然我个人更偏爱 Telegram,但我还不得频繁地在不同的 IM 之间切换,着实让人头疼。
- 通过 Frame 将这些 IM 的网页版集合起来。这种在桌面上体验还勉勉强强;在手机上,面对这些其实是更适配大屏的 UI 简直是噩梦。
- 通过抓包或者分析网页版将内容提取出来后,重新组装一个集成度更高更美观的 UI 出来。坦白说,这种方式让我很担心数据安全问题,毕竟它会破坏掉这些 IM 原本端对端加密的可靠性。
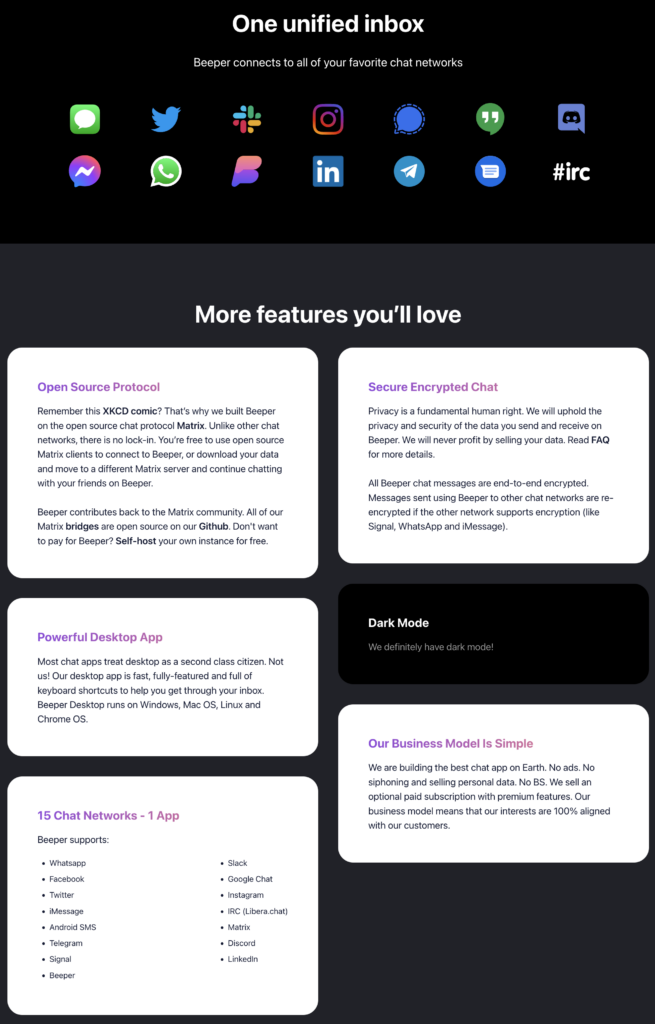
然而,前段时间我发现一个叫 Beeper 的服务,让我看到了一点曙光。

根据官网的介绍,这简直是满足我对一个多合一 IM 的所有想象。于是果断注册,然后被现实啪啪打脸!
已经排了好几个月了,前面依然还有十几万人,简直是遥遥无期。然后我脑海中突然蹦出来一个念头,既然他是基于开源协议 Matrix 建设的,我完全可以尝试自己部署一下。
简单调研了下,Matrix 彻底让我心动了:
- 支持桥接,可以与 WhatsApp、Telegram、Signal 等等其他 IM 进行桥接,通过 Matrix 可以收发所桥接 IM 服务的消息。
- 支持端对端加密。它的加密算法是开源的,并已经被各种应用场景如 Signal 证明可靠的。由于它本身对端对端加密的支持,所以我依然能保证所桥接的 IM 服务是端对端加密的。等于说,不会因为桥接而破坏了原本所使用 IM 服务的隐私保护能力。而且在部署的过程中,我发现它不光是端对端加密,也是零访问加密。
- 完全开源,可以自部署。不光是 Matrix 服务本身,Matrix 的所有的桥接组件也是开源的。虽然端对端加密在一定程度上已经足够了,但是只有我完全自部署,才能确定它真正是做到了零访问加密,很大程度上防止中间人攻击。
行动起来,开始部署。
部署 Matrix 服务
Matrix 服务端的各种开源实现少说也有 6 种,我最终决定使用 Synapse,因为这是唯一一款由 Matrix 核心团队自己实现的服务端。
Welcome to the documentation repository for Synapse, a Matrix homeserver implementation developed by the matrix.org core team.
Introduction to Synapse @ https://github.com/matrix-org/synapse
为了方便管理和后续维护,我选用了官方文档上面通过 Docker 的部署方式。文档写的真心完善,但是要顺利部署好,还是要踩几个坑的。
在开始部署之前,首先要确定好给 Matrix 服务用的域名,这边我们就先以 homeserver.mymatrixhost.com 吧。确定好域名就开始折腾配置了,至于怎么安装 Docker 我就不在这里赘述了。
Matrix 配置
首先是用如下命令生成配置:
docker run -it --rm \
    --mount type=volume,src=synapse-data,dst=/data \
    -e SYNAPSE_SERVER_NAME=homeserver.mymatrixhost.com \
    -e SYNAPSE_REPORT_STATS=no \
matrixdotorg/synapse:latest generateCode language: Bash (bash)SYNAPSE_SERVER_NAME(必须): 服务使用的域名,就是我们刚刚假定的 homeserver.mymatrixhost.com。SYNAPSE_REPORT_STATS(必须): 是否上报匿名统计。我选择 no。- /data: Synapse 默认的配置文件夹路径,所以上面的范例命令,我们将卷挂载在了
/data。
如果我们选择数据源目录为 synapse-data,执行完这条命令后,在 Docker 常规配置下,就能在 /var/lib/docker/volumes/synapse-data/_data 这个路径下面发现这个文件 homeserver.yaml,这个就是 Matrix 服务端的配置文件,如下:
# Configuration file for Synapse.
#
# This is a YAML file: see [1] for a quick introduction. Note in particular
# that *indentation is important*: all the elements of a list or dictionary
# should have the same indentation.
#
# [1] https://docs.ansible.com/ansible/latest/reference_appendices/YAMLSyntax.html
#
# For more information on how to configure Synapse, including a complete accounting of
# each option, go to docs/usage/configuration/config_documentation.md or
# https://matrix-org.github.io/synapse/latest/usage/configuration/config_documentation.html
server_name: "homeserver.mymatrixhost.com"
pid_file: /data/homeserver.pid
listeners:
  - port: 8008
    tls: false
    type: http
    x_forwarded: true
    resources:
      - names: [client, federation]
        compress: false
database:
  name: sqlite3
  args:
    database: /data/homeserver.db
log_config: "/data/homeserver.mymatrixhost.com.log.config"
media_store_path: /data/media_store
registration_shared_secret: "bzxSPVVwhHMiSs6b6YRBKreN-i^W^2tCUmS^4r~Hr:_ew,Alkb"
report_stats: false
macaroon_secret_key: "J1kYVZ~+fixo*RI@K5,~W-LoL#lMr0ZVJg.nFN,=MT_bYpk@JJ"
form_secret: "2zXL_q~hI1nF^m#yBumaIvY9dFU~j9uiFO0bGR5Rgc-U5gf6@2"
signing_key_path: "/data/homeserver.mymatrixhost.com.signing.key"
trusted_key_servers:
  - server_name: "matrix.org"

# vim:ft=yamlCode language: YAML (yaml)
大多数配置项可以直接是用默认,简单解释一下几个配置项:
监听器
listeners:
  - port: 8008
    tls: false
    type: httpCode language: YAML (yaml)
如果需要开启 https 的话,需要将 tls 改成 true。但是我非常不建议,原因有三:
- 为容器中应用直接配置证书相对比较麻烦,
- 保留 http ,测试起来会方便很多
- 可以用一些替代方案来保留 http 并同时以 https 对外提供服务,比方说,文档中提到了使用反向代理,这也是我使用的方案。同时考虑到 http 的安全性问题,我通过防火墙关闭了外部对 8008 端口的访问,因此,只有我在主机中调试的时候,能本地调用 8008 的 http 服务。
数据库
database:
  name: sqlite3
  args:
    database: /data/homeserver.dbCode language: YAML (yaml)
Synapse 支持 PostgreSQL 和 SQLite,考虑到我只是拿来自用以及更方便的部署,我选择了 SQLite。同时因为配置文件夹使用了默认的 /data ,所以最终配置文件路径为 /data/homeserver.db。
接下来就是
运行 Matrix
docker network create synapse-netCode language: Bash (bash)现在可以尝试运行 Matrix 了。
docker run -d --name synapse \
    --mount type=volume,src=synapse-data,dst=/data \
    -p 8008:8008 \
    --net synapse-net \
    matrixdotorg/synapse:latestCode language: Bash (bash)
如上命令,我们通过 –name synapse 来命名 Matrix 服务的容器,以便于我们后面通过这个容器名来对容器进行操作。我们也通过 --
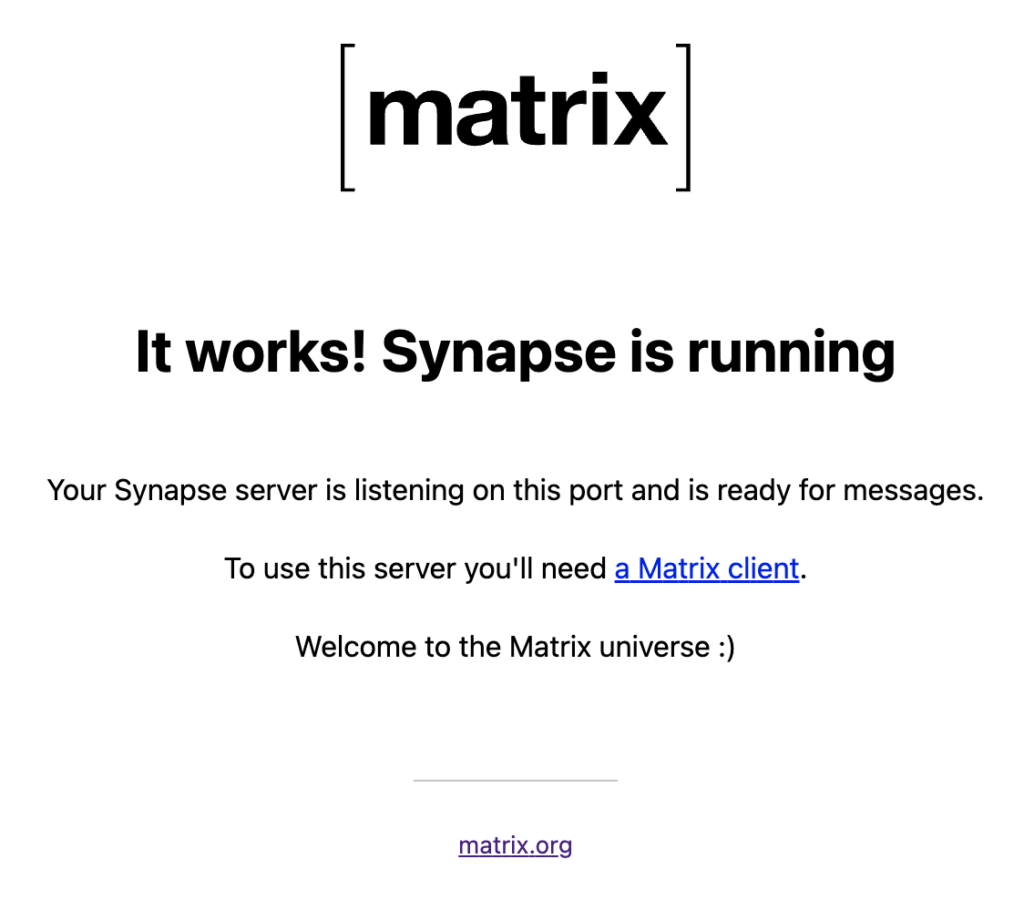
docker logs --tail 100 synapseCode language: Bash (bash)可以通过这个命令查看下最新 100 条日志,检查一下运行情况。如果只是自用没有过多复杂配置的话,让 Matrix 跑起来其实非常容易。在用防火墙堵住 8008 端口之前,可以访问这个地址 http://{你所部署服务主机的对外 IP}/_matrix/static/ 检查你的 Matrix 状态。如果正常的话,会显示如下:

同时可以通过这个命令 docker network inspect synpase-net 查看所以连接到 synpase-net 网络桥的容器的网络配置。
HTTPS 配置 :反向代理
作为一个懒人,我的环境是通过 DigitalOcean 的一键部署功能创建的 LAMP 主机,所以虽然我对 Apache2 并不熟悉,但是为了图方便,还是选择用 Apache2 来设置反向代理了。
首先先在 /etc/apache2/sites-available/000-default-le-ssl.conf 增加如下配置:
<VirtualHost *:443>
    ServerName homeserver.mymatrixhost.com

    RequestHeader set "X-Forwarded-Proto" expr=%{REQUEST_SCHEME}
    AllowEncodedSlashes NoDecode

    ProxyPreserveHost on
    ProxyPass /_matrix http://127.0.0.1:8008/_matrix nocanon
    ProxyPassReverse /_matrix http://127.0.0.1:8008/_matrix
    ProxyPass /_synapse/client http://127.0.0.1:8008/_synapse/client nocanon
    ProxyPassReverse /_synapse/client http://127.0.0.1:8008/_synapse/client

    ErrorLog ${APACHE_LOG_DIR}/error-matrix-server.log
    CustomLog ${APACHE_LOG_DIR}/access-matrix-server.log combined

    Include /etc/letsencrypt/options-ssl-apache.conf
    SSLCertificateFile /etc/letsencrypt/live/homeserver.mymatrixhost.com/fullchain.pem
    SSLCertificateKeyFile /etc/letsencrypt/live/homeserver.mymatrixhost.com/privkey.pem
</VirtualHost>Code language: Apache (apache)
在真正生效以上配置之前,还需要启用必要的 Apache 模块。可通过如下命令启用:
a2enmod headers
a2enmod proxy
a2enmod proxy_httpCode language: Bash (bash)
其实在配置反向代理的过程中,我遇到了一个比较奇怪的事情。当我没有启用 headers 或者 proxy 模块的情况下,我直接重启 Apache2 服务,Apache2 会启动失败并报错提示我启用这两个模块。但是如果 proxy_http 没有启用的话, Apache2 服务是可以被正常启动的。只是在通过代理端口访问服务的时候,会报如下错误:
AH01144: No protocol handler was valid for the URL /_matrix/static (scheme 'http'). If you are using a DSO version of mod_proxy, make sure the proxy submodules are included in the configuration using LoadModule.Code language: JavaScript (javascript)报错内容也让我很费解,里面提到的依然是 mod_proxy,直到我在 stackoverflow 一个高赞回答的评论里面发现除了 proxy ,proxy_http 也需要被启用。
不是很了解 Apache2,哪位朋友明白为什么报错什么费解的话,求解答。
接下来就是申请 https 证书和绑定域名,这里就不再赘述了。一旦配置成功,当你访问 https://homeserver.mymatrixhost.com/_matrix/static/ ,能再次看到如下页面。

后面我们将 Matrix 用于生产使用,所以务必关闭外部对 8008 端口的访问能力,因为 8008 提供的是不安全的 HTTP 服务。
客户端验证
既然 HTTPS 已经配置好,那我们可以正式使用 Matrix 服务了。再使用之前,还需要完成两件事情:管理员账户的创建和客户端。
创建管理员账号
可以通过如下命令来创建一个管理员账户
docker exec -it synapse register_new_matrix_user http://localhost:8008 -c /data/homeserver.yaml -aCode language: Bash (bash)务必要加上 -a 参数,否则创建的将会是普通账户。在此,我们假定这个管理员账户为 matrixadmin 以便后面使用。
使用客户端连接 Matrix
因为 Matrix 是开源协议,所以可以从该页面发现,现在业界已经有很多 Matrix 客户端。在我尝试了 Element 和 FluffyChat 之后,我最终选择了 FluffyChat。
选定好客户端后,就可以尝试登陆了。登陆时,务必将服务端从 Matrix.org 改成我们自部署的 homeserver.mymatrixhost.com,并输入上一步中生成的管理员账户的用户名和密码。不出意外的话,就可以顺利通过客户端登陆 Matrix 服务了。
接下来,将开始进入最有意思的部分:将这个 Matrix 服务变成一个多合一端对端加密 IM 服务。
部署桥接组件
先从 WhatsApp 和 Telegram 目前最流行的两大 IM 开始吧。和部署 Synapse 一样,我参考官方文档同样选择使用 Docker 来运行桥接组件
部署 WhatsApp 桥接组件
WhatsApp 配置
先使用此命令 mkdir mautrix-whatsapp && cd mautrix-whatsapp 创建一个用来维护配置的目录,接下来执行 docker run --rm -v `pwd`:/data:z dock.mau.dev/mautrix/whatsapp:latest 以初始化配置。然后,你会在 mautrix-whatsapp 目录中看到 config.yaml 这个文件。
大多数配置可以直接使用默认值,简单介绍一些需要修改和关注的配置项。
homeserver:
    # The address that this appservice can use to connect to the homeserver.
    address: http://synapse:8008
    # The domain of the homeserver (also known as server_name, used for MXIDs, etc).
    domain: homeserver.mymatrixhost.com

    # What software is the homeserver running?
    # Standard Matrix homeservers like Synapse, Dendrite and Conduit should just use "standard" here.
    software: standard
    # The URL to push real-time bridge status to.
    # If set, the bridge will make POST requests to this URL whenever a user's whatsapp connection state changes.
    # The bridge will use the appservice as_token to authorize requests.
    status_endpoint: null
    # Endpoint for reporting per-message status.
    message_send_checkpoint_endpoint: null
    # Does the homeserver support https://github.com/matrix-org/matrix-spec-proposals/pull/2246?
    async_media: false

# Application service host/registration related details.
# Changing these values requires regeneration of the registration.
appservice:
    # The address that the homeserver can use to connect to this appservice.
    address: http://mautrix-whatsapp:29318Code language: YAML (yaml)
不知道是否还记得,我们前面创建了
    # Database config.
    database:
        # The database type. "sqlite3-fk-wal" and "postgres" are supported.
        type: sqlite3-fk-wal
        # The database URI.
        #   SQLite: A raw file path is supported, but `file:<path>?_txlock=immediate` is recommended.
        #           https://github.com/mattn/go-sqlite3#connection-string
        #   Postgres: Connection string. For example, postgres://user:password@host/database?sslmode=disable
        #             To connect via Unix socket, use something like postgres:///dbname?host=/var/run/postgresql
        uri: file:///data/db.db?_txlock=immediateCode language: YAML (yaml)
一样的道理。虽然 WhatsApp 桥接组件也支持 PostgreSQL,但自用服务且图方便,我选择 SQLite。如果启动的时候,遇到初始化 DB 失败的报错,可以直接用 touch db.db 来创建一个空数据库文件。
    # End-to-bridge encryption support options.
    #
    # See https://docs.mau.fi/bridges/general/end-to-bridge-encryption.html for more info.
    encryption:
        # Allow encryption, work in group chat rooms with e2ee enabled
        allow: true
        # Default to encryption, force-enable encryption in all portals the bridge creates
        # This will cause the bridge bot to be in private chats for the encryption to work properly.
        default: trueCode language: YAML (yaml)
将 allow 设置为 true,WhatsApp 桥接组件将会支持对桥接会话开启端对端加密。将 default 设置为 true 之后,该桥接组件就会默认对所有的桥接会话开启端对端加密。
permissions:
    "*": relay
    "homeserver.mymatrixhost.com": user
    "@matrixadmin:homeserver.mymatrixhost.com": adminCode language: YAML (yaml)
最后就是桥接应用服务的权限配置,admin 就是之前我们假定的 matrixadmin 用户,如上。
注册应用服务
配置文件已确定好,接下来就该生成应用服务注册文件。再次执行刚刚相同的命令。
docker run --rm -v `pwd`:/data:z dock.mau.dev/mautrix/whatsapp:latestCode language: Bash (bash)配置文件夹中会出现一个新文件 registration.yaml,然后将该文件拷贝到 Synapse 的配置文件夹中,并起一个更容易识别的文件名。
cp registration.yaml /var/lib/docker/volumes/synapse-data/_data/mautrix-whatsapp-registration.yamlCode language: Bash (bash)接下来更新 Synapse 配置文件将 WhatsApp 桥接组件注册到 Matrix 中,如下:
trusted_key_servers:
  - server_name: "matrix.org"
app_service_config_files:
  - /data/mautrix-telegram-registration.yaml
  - /data/mautrix-whatsapp-registration.yaml

# vim:ft=yamlCode language: YAML (yaml)
从上面可以看到另外一个和 Telegram 相关的服务注册,一会就会介绍。
开启 WhatsApp 桥接服务
接下来启动桥接服务。前面我们将 appservice 的 address 配置为 http://mautrix-whatsapp:29318,所以我们务必将容器命名为 mautrix-whatsapp 并关联到
docker run --restart unless-stopped --name mautrix-whatsapp --net synapse-net -v `pwd`:/data:z dock.mau.dev/mautrix/whatsapp:latestCode language: Bash (bash)使用 Matrix 桥接 WhatsApp 会话
开启桥接服务后,重启 Synapse,不出意外的话 WhatsApp 桥接就正式工作了。可以在客户端添加 @whatsappbot:homeserver.mymatrixhost.com 为好友,向他发送 login,whatsappbot 就会进行桥接的登陆引导,整个流程和登陆网页版 WhatsApp 一模一样。我理解这个桥接组件其实就是一个网页版 WhatsApp 的封装。
至此,WhatsApp 桥接服务算是正常运行了,接下来再聊聊 Telegram 的桥接吧。
部署 Telegram 桥接组件
Telegram 配置
部署和 WhatsApp 桥接组件类似,创建配置目录并生成配置文件
mkdir mautrix-telegram && cd mautrix-telegram.
docker run --rm -v `pwd`:/data:z dock.mau.dev/mautrix/telegram:latestCode language: Bash (bash)
同样需要注意 Matrix 和 Telegram 桥接应用服务的地址
# Homeserver details
homeserver:
    # The address that this appservice can use to connect to the homeserver.
    address: http://synapse:8008
    # The domain of the homeserver (for MXIDs, etc).
    domain: homeserver.mymatrixhost.com
    # Whether or not to verify the SSL certificate of the homeserver.
    # Only applies if address starts with https://
    verify_ssl: false
    # What software is the homeserver running?
    # Standard Matrix homeservers like Synapse, Dendrite and Conduit should just use "standard" here.
    software: standard
    # Number of retries for all HTTP requests if the homeserver isn't reachable.
    http_retry_count: 4
    # The URL to push real-time bridge status to.
    # If set, the bridge will make POST requests to this URL whenever a user's Telegram connection state changes.
    # The bridge will use the appservice as_token to authorize requests.
    status_endpoint:
    # Endpoint for reporting per-message status.
    message_send_checkpoint_endpoint:
    # Whether asynchronous uploads via MSC2246 should be enabled for media.
    # Requires a media repo that supports MSC2246.
    async_media: false

# Application service host/registration related details
# Changing these values requires regeneration of the registration.
appservice:
    # The address that the homeserver can use to connect to this appservice.
    address: http://mautrix-telegram:29317Code language: YAML (yaml)
同样选择 SQLite 作为数据库
    # The full URI to the database. SQLite and Postgres are supported.
    # Format examples:
    #   SQLite:   sqlite:///filename.db
    #   Postgres: postgres://username:password@hostname/dbname
    database: sqlite://db.dbCode language: YAML (yaml)
端对端加密配置
    # End-to-bridge encryption support options.
    #
    # See https://docs.mau.fi/bridges/general/end-to-bridge-encryption.html for more info.
    encryption:
        # Allow encryption, work in group chat rooms with e2ee enabled
        allow: true
        # Default to encryption, force-enable encryption in all portals the bridge creates
        # This will cause the bridge bot to be in private chats for the encryption to work properly.
        default: trueCode language: YAML (yaml)
权限配置
    permissions:
        '*': relaybot
        mymatrixhost.com: full
        '@matrixadmin:homeserver.mymatrixhost.com': adminCode language: YAML (yaml)
除此之外,还需要配置 Telegram 的 API Key。我相信 Telegram 桥接应用服务是对一系列 Telegram API 操作的封装。
telegram:
    # Get your own API keys at https://my.telegram.org/apps
    api_id: 10000001
    api_hash: 123abcdefghijklmnopqrstuvwxyz123
    # (Optional) Create your own bot at https://t.me/BotFather
    bot_token: disabledCode language: PHP (php)
显而易见,上面的 Key 是我虚构的,只是作为例子而已。我们需要去 Telegram 应用创建页面申请 API Key。申请过程中,务必在 URL 输入你 Matrix 服务的域名,这里我们就需要输入我们假定的 homeserver.mymatrixhost.com。
注册应用服务
和 WhatsApp 桥接组件的步骤类似,
docker run --rm -v `pwd`:/data:z dock.mau.dev/mautrix/telegram:latest
cp registration.yaml /var/lib/docker/volumes/synapse-data/_data/mautrix-telegram-registration.yamlCode language: Bash (bash)
更新 Synapse 配置文件,如下:
trusted_key_servers:
  - server_name: "matrix.org"
app_service_config_files:
  - /data/mautrix-telegram-registration.yaml
  - /data/mautrix-whatsapp-registration.yaml

# vim:ft=yamlCode language: YAML (yaml)
开启 Telegram 桥接服务
接下来启动桥接服务。前面我们将 appservice 的 address 配置为 http://mautrix-telegram:29317,所以我们务必将容器命名为 mautrix-telegram 并关联到
docker run --restart unless-stopped --name mautrix-telegram --net synapse-net -v `pwd`:/data:z dock.mau.dev/mautrix/telegram:latestCode language: Bash (bash)使用 Matrix 桥接 Telegram 会话
开启桥接服务后,重启 Synapse。可以在客户端添加 @telegrambot:homeserver.mymatrixhost.com 为好友,向他发送 login,telegrambot 就会进行桥接的登陆引导,整个流程和登陆 Telegram 一模一样。
至此,Telegram 桥接服务开始正常运行,我们可以用 FluffyChat 收发 Telegram 的会话信息。
多合一端对端 IM 服务
在适应了两天之后,我将 WhatsApp 和 Telegram 的消息通知都关闭了,FluffyChat 配合我自部署的 Matrix 已经完全可以搞定我日常的 IM 需求了。
最后,不要忘记用防火墙关闭外部对 29317 和 29318 两个桥接服务端口的访问。